Top 3 Mistakes Beginner Surfers Make & How To Fix Them
Let’s face it, learning how to surf is difficult. Learning how to surf proficiently is near impossible. Of the tens of millions of people worldwide who try their hand at surfing each year, only a small fraction stick with the sport long enough to get good at it.
Surfing has a steep learning curve because it takes place in an ever-changing (sometimes hostile) environment—the ocean. Unlike almost all other sports, there is a high degree of unpredictability in surfing, as the surfer’s playing field is constantly shifting and new obstacles often pop-up out of nowhere. There are no painted lines or boundaries, no nets or goal posts. Adaptation is the name of the game.
If you are trying to learn how to surf on your own, especially as an adult, then your natural physical instincts are going to betray you 99% of the time. Yet most beginner surfers attempt to learn the sport without the help of a certified instructor or coach. Why someone would subject themselves to such humiliation is beyond me. The ocean will slap you around and steal your lunch money if you’re not careful, so it helps to have an experienced surf coach there to watch your back.
Anyway, if you fall into the category of novice surfer trying to go at it alone, then you are probably making a lot of little mistakes—mistakes that can be easily spotted and corrected by the trained (surf coach) eye. Therefore, here is a list of the top three mistakes we see during beginner surf lessons, and how to correct them.
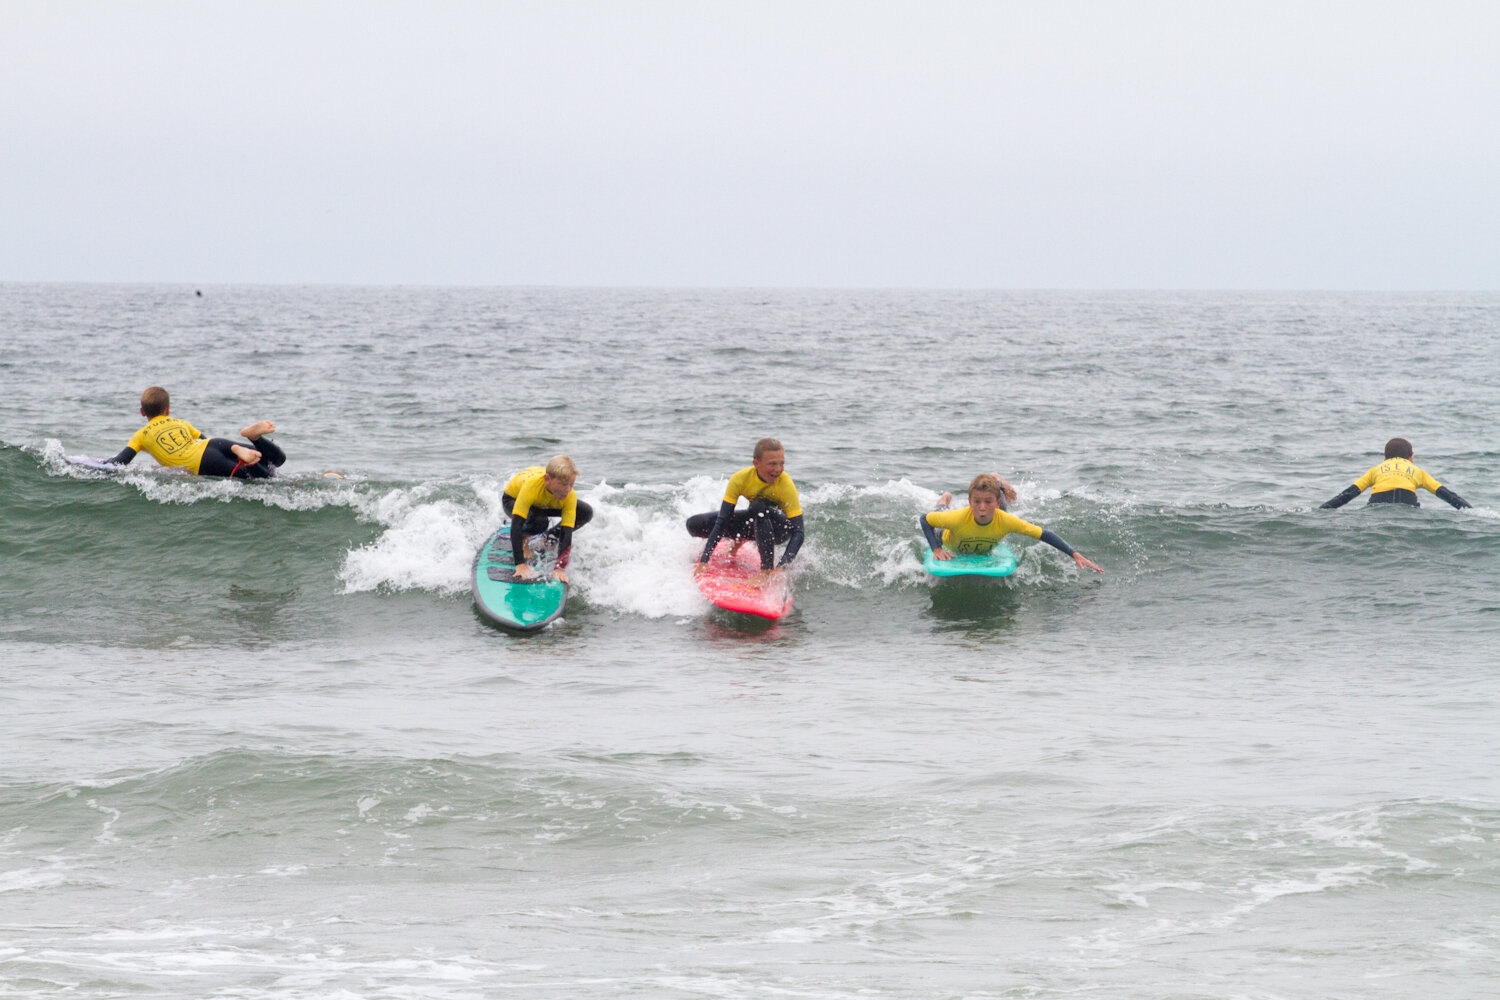
Note: as a beginner surfer you should master catching and riding whitewater waves (aka waves that have already broken) before moving out to deeper water. Therefore, this list is based on common mistakes that beginners make while surfing in the whitewater zone.
Failing to catch the wave
First off, it is essential that you use the right board for your skill level. For beginner surfers practicing in the whitewater zone, the longer, wider, and thicker the board is, the better. Using a high-volume board makes it easier to catch waves and stand to your feet properly because the board will do a good deal of the work for you. Furthermore, we recommend using a soft-top board rather than an epoxy one to prevent injury. Here is what a good beginner surfboard looks like.
Second, start by walking your board out rather than paddling. It is much easier to navigate through the whitewater zone and turn the board around from your feet than from your stomach. Plus you will conserve more energy and catch more waves in the long run.
Maintain control of your surfboard at all times by having two hands firmly placed on the back of the board and pointing the nose directly into the oncoming waves. Once you are in stomach-deep water, turn the board around fully so that the back of the board is aligned with the onrushing wall of whitewater. You will not be able to catch the wave properly if your board is set at the wrong angle.
Once you are turned around, hop on your board and start paddling toward the beach before the approaching wave reaches you. The most efficient way to mount the surfboard is to place one hand on each rail and pull your chest on the deck from the side of the board (rather than the back), then swing both legs on.
If you are using a surfboard between 8 and 9 feet (which we recommend), then your toes should be all the way at the back of the board when you paddle. A helpful mantra for positioning yourself properly is “toes to tail, hips between rails.”
When it comes to timing the wave, a useful rule of thumb is to take at least four paddles before the wave hits the back of your board, and then two more paddles before transitioning to your feet.
Nosediving on the takeoff
Nosediving, aka “pearling”, is by far the most common mistake we see beginner surfers make. This happens because the surfer has too much weight toward the front half of the board during the takeoff.
When paddling for a wave, it is important to maintain a slight arch in your lower back so that you can lift your chest up (think cobra pose in yoga), thereby shifting more weight toward the back of the board and allowing you to keep your gaze forward rather than down.
As previously mentioned, it is critical that you gain momentum toward the beach before the wave hits the back of your board. This will make for a gentler transition of energy from the wave to your board. Like a speedboat, the more momentum you have on your surfboard, the easier it is to cut through chop and keep the bow up.
The most important thing you can do to prevent nosediving is to lift up your chest once you’ve caught the wave. The best way to lift your chest up is to bring your hands all the way back to your ribs with your elbows tucked in and then lock out your arms (think upward facing dog pose in yoga). Make sure to keep your hands flat on the deck of the board so that you don’t grab the rails. Here is a simple popup tutorial video that effectively demonstrates this technique.
Poor foot positioning & poo stance
Once you’ve made it to your feet, the trick is to stay balanced and under control as you ride your surfboard to shore. The common mistake here is to stand like a baseball batter at home plate with your head forward toward the pitcher but your shoulders and hips closed off (perpendicular to your gaze). In surfing, you need to rotate your shoulders and hips in the same general direction as your eyes and head.
Before you can achieve the proper stance, however, you must first make sure your feet are positioned correctly. If you have two feet in the back half of the board (another common error), then the nose of the surfboard will lift up like a seesaw and you will feel like you’re falling backward off the board. Furthermore, if one of your feet is off-center, then your board will start turning involuntarily and you will lose control.
Here’s a tip: before you enter the water to go surfing, warmup with a few pop ups on the beach first. Start by drawing an outline of your surfboard on the wet sand, then draw two perpendicular lines (nose to tail, rail to rail) splitting your board into four equal quadrants. When you pop up to your feet, make sure your feet are slightly wider than your shoulders with one foot in the front half of the board, one foot in the back half, and both feet in line with the stringer. Unlike most other athletic stances, your knees should be pointed slightly in (pigeon-toed).
The next important step is to angle your hips and shoulders forward while keeping your weight centered between your knees. Rotate your front foot slightly open toward the nose and imagine you are holding a broomstick horizontally out in front of your body with your hands facing down and your elbows bent. Your lead arm should be over your heel-side rail and your back arm should be over your toe-side rail.
By rotating your front foot slightly forward and opening up your hips and shoulders, you prevent yourself from surfing in what we like to call the poo stance—with the knees pointing away from each other and the butt sticking out. To maintain a proper surf stance, always try to keep your shoulders, knees, and toes in the same vertical plane. Finally, bend your knees and sink low. The lower your center of gravity, the easier it is to balance.
If you are a beginner surfer who can identify with making one or all of these mistakes, then this brief how-to guide will certainly put you on the right track to becoming an intermediate surfer. That being said, a more effective way to progress from the beginner to intermediate level is to take a lesson with an ISA certified instructor.